Setting up a reliable Home Assistant irrigation system has been the main goal of this backyard project. Over the last few articles, I’ve shown how we built our square foot garden, installed a drip irrigation system, and started tying everything into our smart home setup. If you’ve been following along, you probably expected this article to be all about a fully automated watering schedule that uses weather forecasts, scheduling software, and soil moisture data to decide when the garden needs water. On paper…that was the plan.
Then I actually got to the automation stage, and Mother Nature had other ideas.
Northeast Texas decided to make up for lost time. It has rained, and rained, and then rained some more. In fact, it’s raining as I write this. Instead of figuring out how much water the garden needed, I spent weeks wondering when the soil would finally dry out enough to need any at all.
The reality was that I just didn’t have the consistent dry conditions needed to tune a complex automation. Between frequent downpours and soil that stayed damp for days afterward, there wasn’t enough real-world data to know whether an automated schedule was making smart decisions or simply getting lucky. Any adjustments I made one week were completely invalid after the next thunderstorm rolled through.
Rather than forcing an automation I couldn’t confidently trust, I stepped back and focused on what I actually needed.
Home Assistant Irrigation: Going Back to the Basics
I already knew the flow rate of each drip emitter, and after looking at the weekly water requirements for the tomatoes, peppers, cucumbers, and everything else in the beds, I found that a 20-minute watering cycle every two to three days worked well during dry weather.
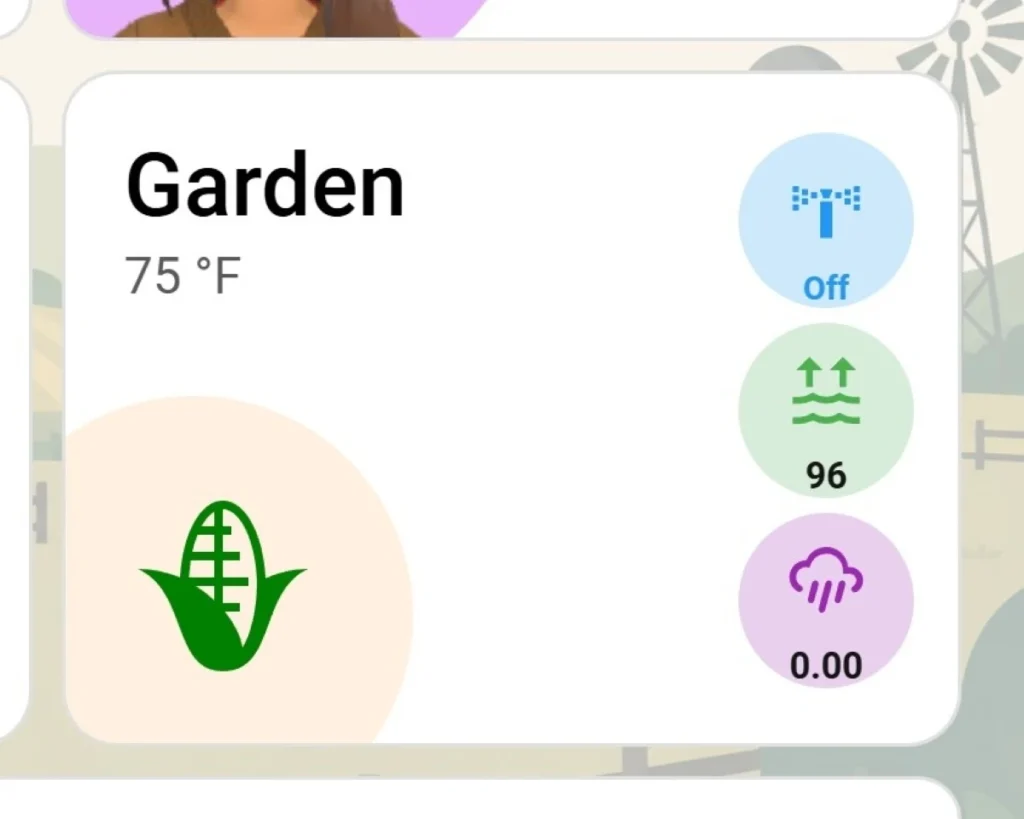
So instead of chasing perfect automation, I kept it simple. A single button on my Home Assistant dashboard starts a 20-minute watering cycle. The system automatically shuts the valve back off when the time expires. It’s actually simpler than my old routine of turning the valve on manually and asking Alexa to remind me twenty minutes later to turn it off…manually. I had to stick around to make sure that happened.
Controlling Irrigation with Alexa
Since I already use Matter to bridge Home Assistant devices into Alexa, I exposed my irrigation valve as a Matter device. After Alexa discovered it as a switch, I created a routine in the Alexa app so that saying, “Alexa, water the garden,” simply turns the valve on.
A Home Assistant automation handles everything after that. Any time the irrigation switch turns on, whether from the dashboard, Alexa, or manually, it waits twenty minutes before turning the valve back off.
The Home Assistant Automation
To keep everything organized, I bundled the automation into a single Home Assistant package. Since I already use packages to organize my configurations by project, I can simply drop this file into my garden_irrigation folder.
YAML
# packages/garden_irrigation/timed_irrigation.yaml

automation:
  - alias: Garden - 20 Minute Auto Off
    description: Automatically turns off the physical irrigation switch after 20 minutes.
    trigger:
      - platform: state
        entity_id: switch.irrigation
        to: "on"
    action:
      - delay:
          minutes: 20
      - action: switch.turn_off
        target:
          entity_id: switch.irrigation
    mode: single
The automation handles the timing regardless of how the irrigation switch is turned on. Whether the valve is activated from the Home Assistant dashboard, an Alexa voice command, or manually, it always follows the same twenty-minute watering cycle before shutting itself off.
Adding a Built-In Fail-Safe with Shelly Auto Off
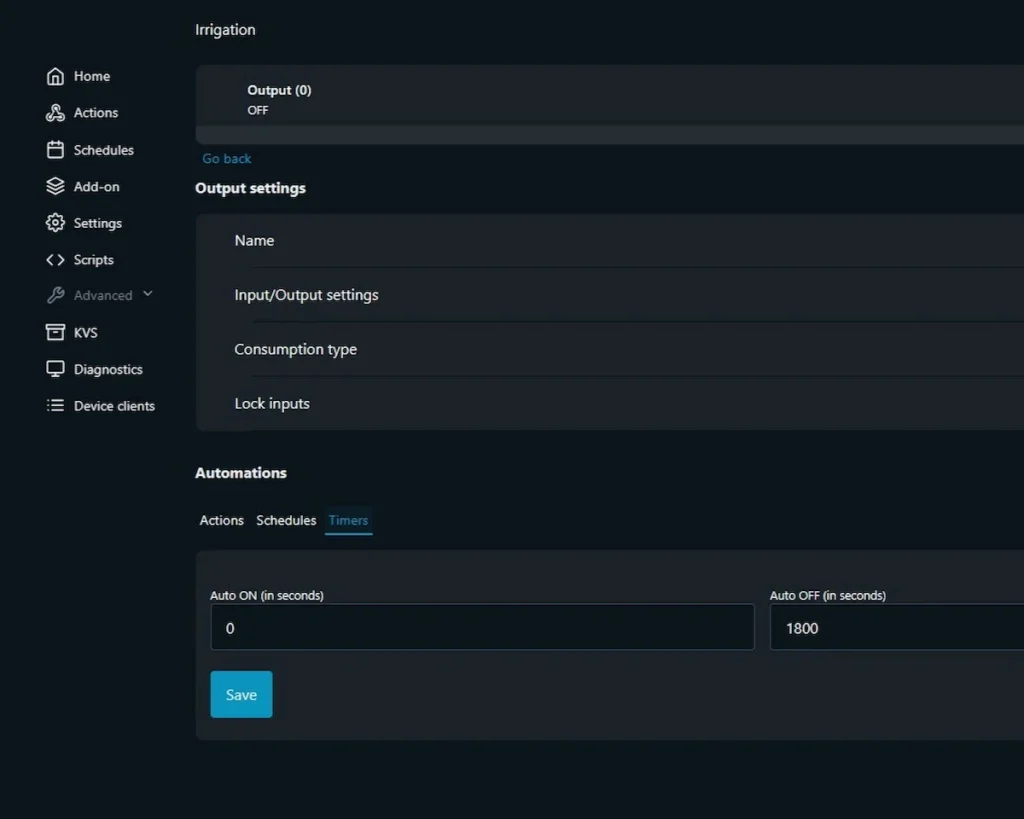
No matter how reliable Home Assistant has been for me, I never like relying on software alone when water is involved. For an extra layer of protection, I configured a 30-minute Auto Off timer directly in my Shelly relay.
Because the timer runs on the relay itself, it doesn’t depend on Home Assistant being online. Even if Home Assistant crashes, the server loses power, or the network drops during a watering cycle, the Shelly will still shut the irrigation valve off after 30 minutes.
It’s one of those simple safeguards that’s easy to overlook, but it can save you from a flooded garden, a wasted water bill, or both.
Sometimes Simpler Really Is Better
One thing I’ve learned throughout this project is that automation shouldn’t exist just because it can. My original goal was a completely self-managing irrigation system, but the relentless rain made it impossible to properly test or tune anything more advanced.
The result is a solution that’s surprisingly practical. When the garden needs water, I press one button or ask Alexa. Twenty minutes later, the valve turns itself off. No reminders. No wondering whether I remembered to shut the water off. Just a simple system that handles the repetitive part while I decide when the garden actually needs watering. In reality, it’s rained so much I’ve only used it twice!
It’s funny how often projects turn out this way. You start with an ambitious plan full of advanced features, only to discover that the simplest solution solves the real problem.
Eventually I’ll revisit weather forecasts, soil moisture sensors, and fully automated irrigation scheduling. For now, though, this setup has earned its place. It saves me from standing in the yard with a hose, eliminates forgotten watering sessions, and still leaves the final decision exactly where it belongs, with me.
While You Are Here…
If you missed any part of our DIY garden journey, check out the previous steps where we built the foundation and the data pipeline for this smart setup:
- Part 1: Building 32 Square Feet of Raised Beds That Won’t Break the Bank See how we leveled the ground, assembled galvanized Amazon beds inside a custom 4×4 timber frame, and used a salvaged cattle panel trellis to build a highly productive growing space for under $350.
- Part 2: Designing an Automated Irrigation System for Our Raised Beds Follow along as we tap into our home’s main water line, bury PVC and electrical conduit, and build out the physical 12-inch drip irrigation grid using an Orbit electric valve and an Atwoods drip kit.
- Part 3: The Sensor Array (And Making Pieces Fit) for Automation Learn how we built the “nervous system” of the garden, using an OpenMQTTGateway RF node, an Acurite rain gauge, a SwitchBot thermo-hygrometer, and PirateWeather to feed critical environmental data back to Home Assistant.