Welcome back to Part 3 of our Square Foot Garden project! If you missed the first two entries, we’ve already covered the installation and basic irrigation routing of our square foot garden. Today, we are diving into the nervous system of the entire operation: the data tracking using some DIY weather sensors.
The DIY Weather Sensor Approach to Garden Data
If you know anything about how I build things, you won’t be surprised to hear that my design process didn’t involve sitting down with a clean slate and buying a perfectly matched, plug-and-play ecosystem of brand-new components. Instead, it involved digging through my old spare parts bin, hitting up Amazon for a cheap rain gauge, and 3d printing a couple of enclosures.
But as any smart home hobbyist knows, drilling holes and mounting hardware to a fence is the easy part. The real challenge is making a mix of random gadgets actually talk to each other.
None of the hardware I collected was designed to work on the same system, they used entirely different wireless frequencies, and I still had a handful of critical weather metrics with no physical sensors to read them from at all. My goal was to find a way to tie all of these mismatched pieces together into a cohesive network.
To determine exactly how much water the garden needs, Home Assistant’s Smart Irrigation integration needs to calculate Evapotranspiration—the precise amount of moisture the soil and plants are losing daily to the atmosphere. To calculate that accurately, it needs a continuous feed of temperature, humidity, rainfall, wind speed, and solar radiation.
Here is exactly how I am piecing together that data pipeline using a mix of local hardware and cloud telemetry:
1. Building the RF Infrastructure: OpenMQTTGateway 433mhz
Before adding specific wireless sensors to the yard, I needed a way to translate raw radio frequencies into data Home Assistant could actually read. To do this, I built an OpenMQTTGateway node utilizing an ESP32 DevKit v1 and a CC1101 RF transceiver module to listen for 433MHz signals.
Flashing the Firmware via the Web
Instead of installing an IDE, downloading libraries, and compiling code from scratch, I used a web utility to flash the board directly from the browser:
- Plugged the ESP32 into my computer via USB.
- Navigated to the official OpenMQTTGateway Documentation.
- Under the Upload section, selected Option 1: Upload from the web.
- Selected the
esp32dev-rtl_433firmware binary from the dropdown list and clicked install.
Once the ESP32 booted, I connected to its local access point configuration page, plugged in my Wi-Fi info, and entered the credentials for the custom MQTT user account I generated inside Home Assistant’s Mosquitto MQTT Broker add-on.
Note for Future Me: The CC1101 to ESP32-DevKit Wiring Diagram
Because I will forget how this is wired up a year from now when I need to rebuild it or troubleshoot a loose wire, here is the exact pinout I used:
CC1101           ESP32-WROOM

1 GND    ------  GND
2 VCC    ------  3V3
3 GDO0   ------  GPIO12
4 CSN    ------  GPIO5
5 SCK    ------  GPIO18
6 MOSI   ------  GPIO23
7 MISO   ------  GPIO19
8 GDO2   ------  GPIO27
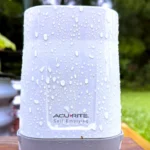
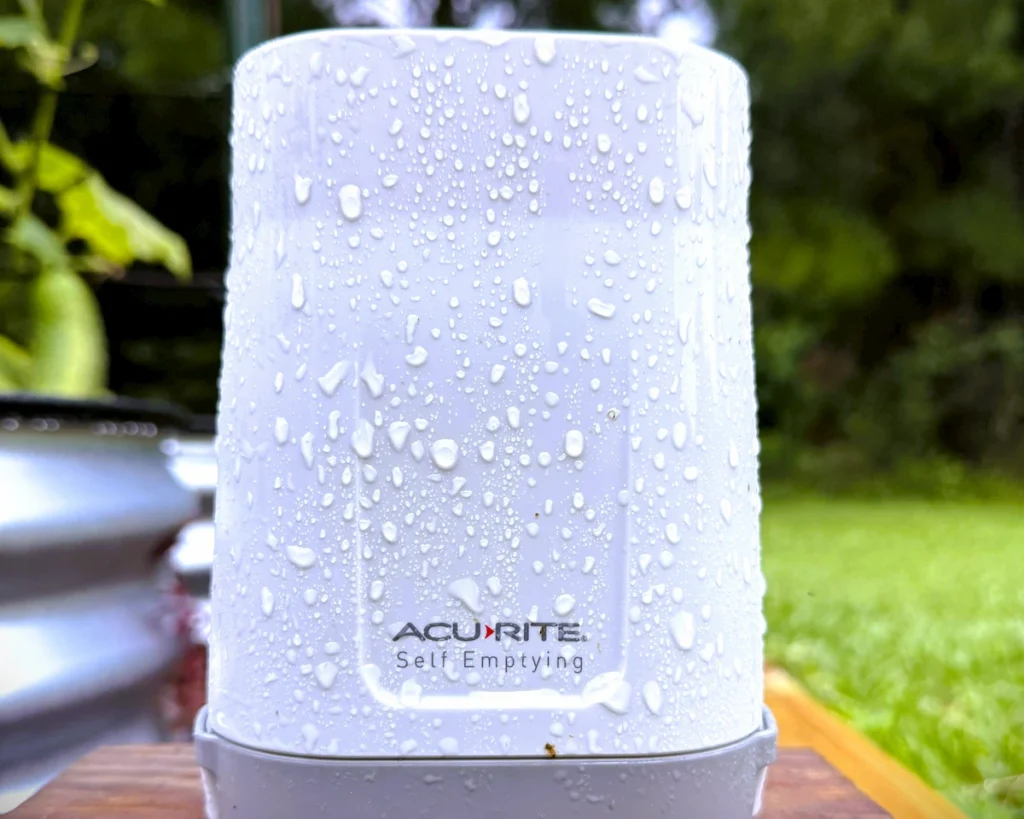
2. Rainfall: The Acurite Rain Gauge
With the 433MHz gateway up and running, adding a rain gauge became incredibly simple. Knowing if it rained (and exactly how much) is the ultimate fail-safe for an automated irrigation schedule, acting as a direct counter-weight to the daily evaporation numbers. For this, I used a cheap Acurite rain gauge I bought on Amazon.
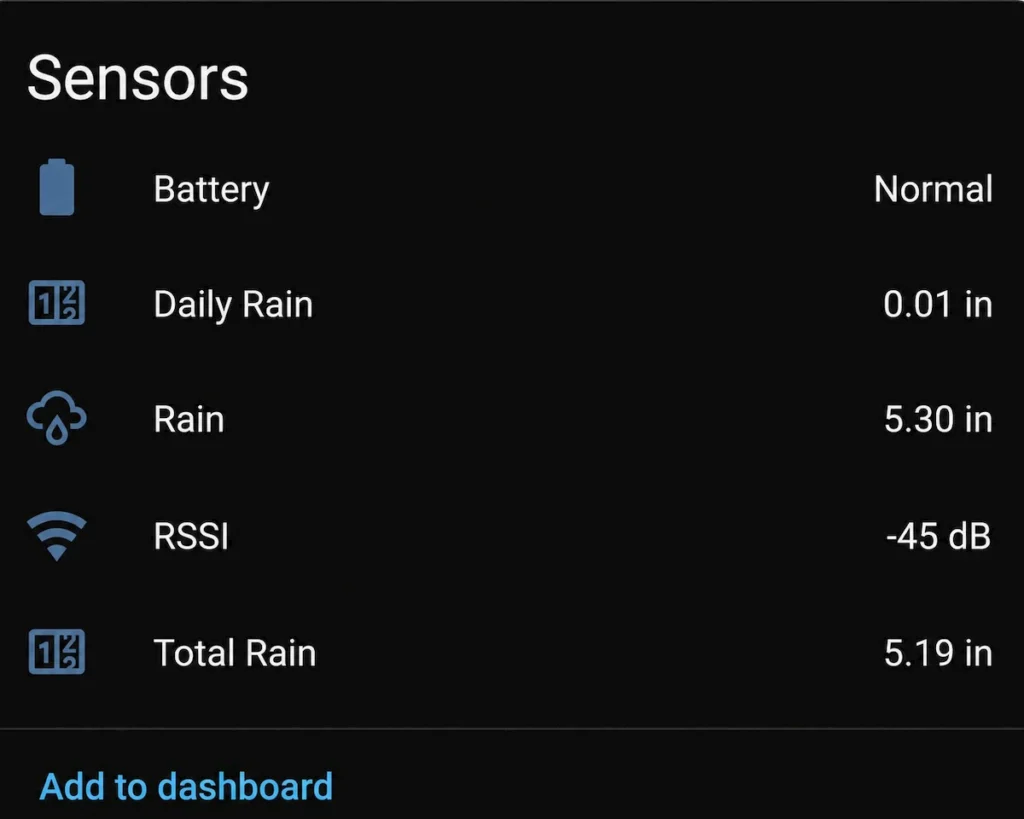
- The Integration: Because the open-source gateway was already listening, it immediately caught the unencrypted 433MHz radio signals from the yard when the bucket tipped. It decoded the metrics and published them via MQTT directly to Home Assistant. Thanks to native MQTT discovery, Home Assistant automatically picked up the data streams and configured the entities with zero manual coding.
- The Accuracy Test: To make sure the cheap hardware was actually giving me reliable numbers, I checked the Acurite data against a basic manual fluid rain gauge sitting in the yard. Every time I have checked it, the automated gauge is within 0.1 of an inch of the manual one. For a cheap DIY setup, that is more than accurate enough.
3. Temperature & Humidity: SwitchBot Thermo-Hygrometer
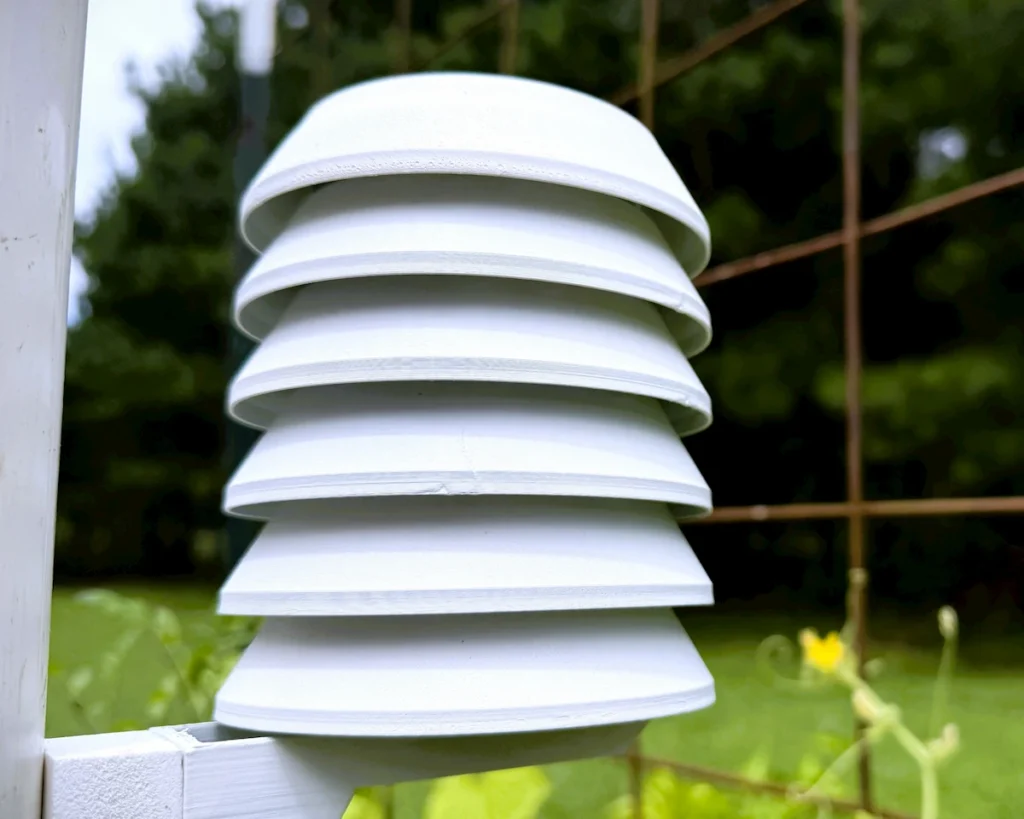
Because the immediate air surrounding the plants heavily dictates daily evaporation rates, getting an accurate temperature and humidity reading directly inside the garden bed was step number one. To handle this, I grabbed a spare SwitchBot Indoor/Outdoor Thermo-Hygrometer I already had lying around.
- The Build: To protect the SwitchBot from direct sunlight and radiant heat (which completely throws off ambient readings), I downloaded a file and 3D-printed a Stevenson screen enclosure for it.
- The Bridge: Because my Home Assistant server is virtualized, it completely lacks built-in Bluetooth hardware. To fix this, I used ESPHome and flashed an ESP32 to act as a dedicated Bluetooth Proxy. This captures the BLE broadcast out in the yard and pipes it cleanly back into Home Assistant over Wi-Fi.

4. Filling the Gaps: The PirateWeather Integration
To complete the evapotranspiration equation, the central system still needed wind speed and solar radiation. I didn’t have physical sensors for those, and I was trying to keep the budget as low as possible since I was between paydays.
- The Solution: I integrated PirateWeather into Home Assistant. By using this weather source, I am able to pull precise, hyper-local telemetry for wind speed, humidity baselines, and solar intensity directly from local forecast models.
- The Result: The Smart Irrigation integration blends my hyper-local hardware data (the exact rain at my house and the exact temperature in the garden bed) with PiratWeather’s atmospheric data. It processes all of it together to calculate the exact second-count my irrigation valves need to run.
What’s Next?
Now that the data pipeline is flowing smoothly, it is time to look at how Home Assistant actually triggers the hardware. In Part 4, we are going to look at the automation logic itself—how we take these calculated runtimes and pass them to our irrigation controller to handle the actual watering.